Neon
To connect your Neon Serverless Postgres Database to Sequel, follow the below steps.
Step 1: Login to your Sequel Account
Login to your Sequel account here, if you don't have an account, you can create a new account from the signup page
Step 2: Open New Connection Screen
In the databases listing page, click on "Connect Database", and the Connection Screen will open.
Step 3: Choose Postgres Database Connection
In the database conenctor catalog, choose PostgreSQL. This will open up a connection form for you. You can give a display name which will be visible for all the users in your workspace.
Step 4: Login to your Neon Account
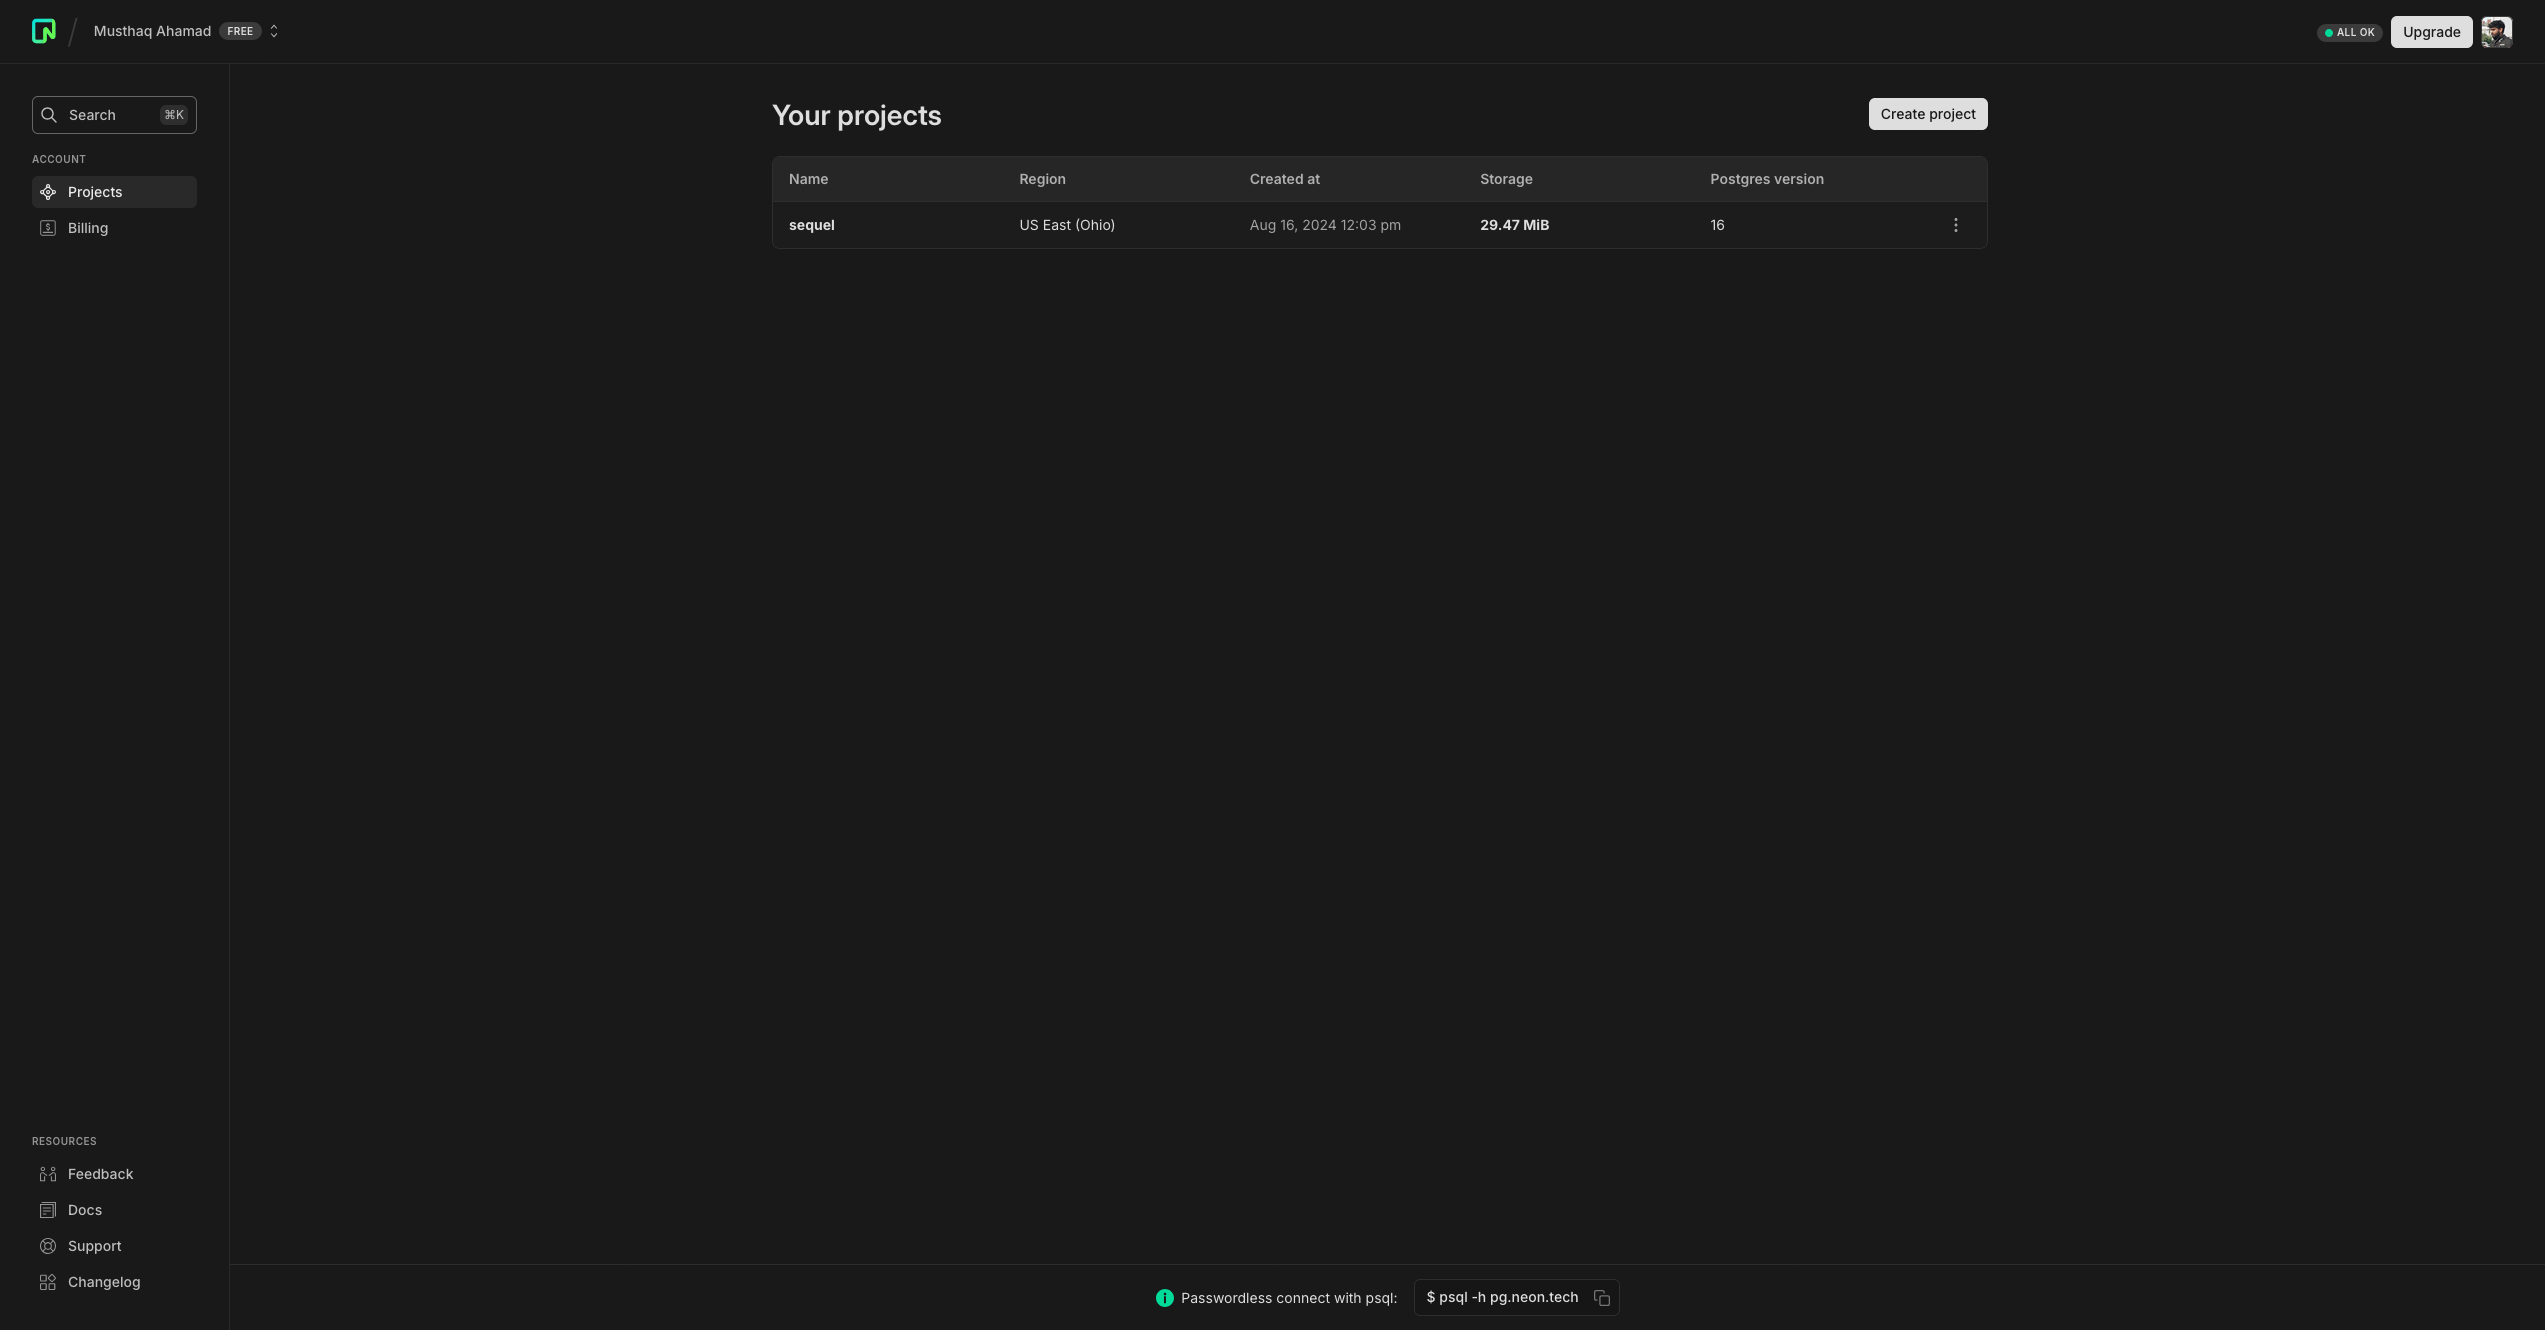
Login to your Neon account and go to Project section from the left side bar. You will see all your databases here.

Step 5: Choose the database you want to integrate
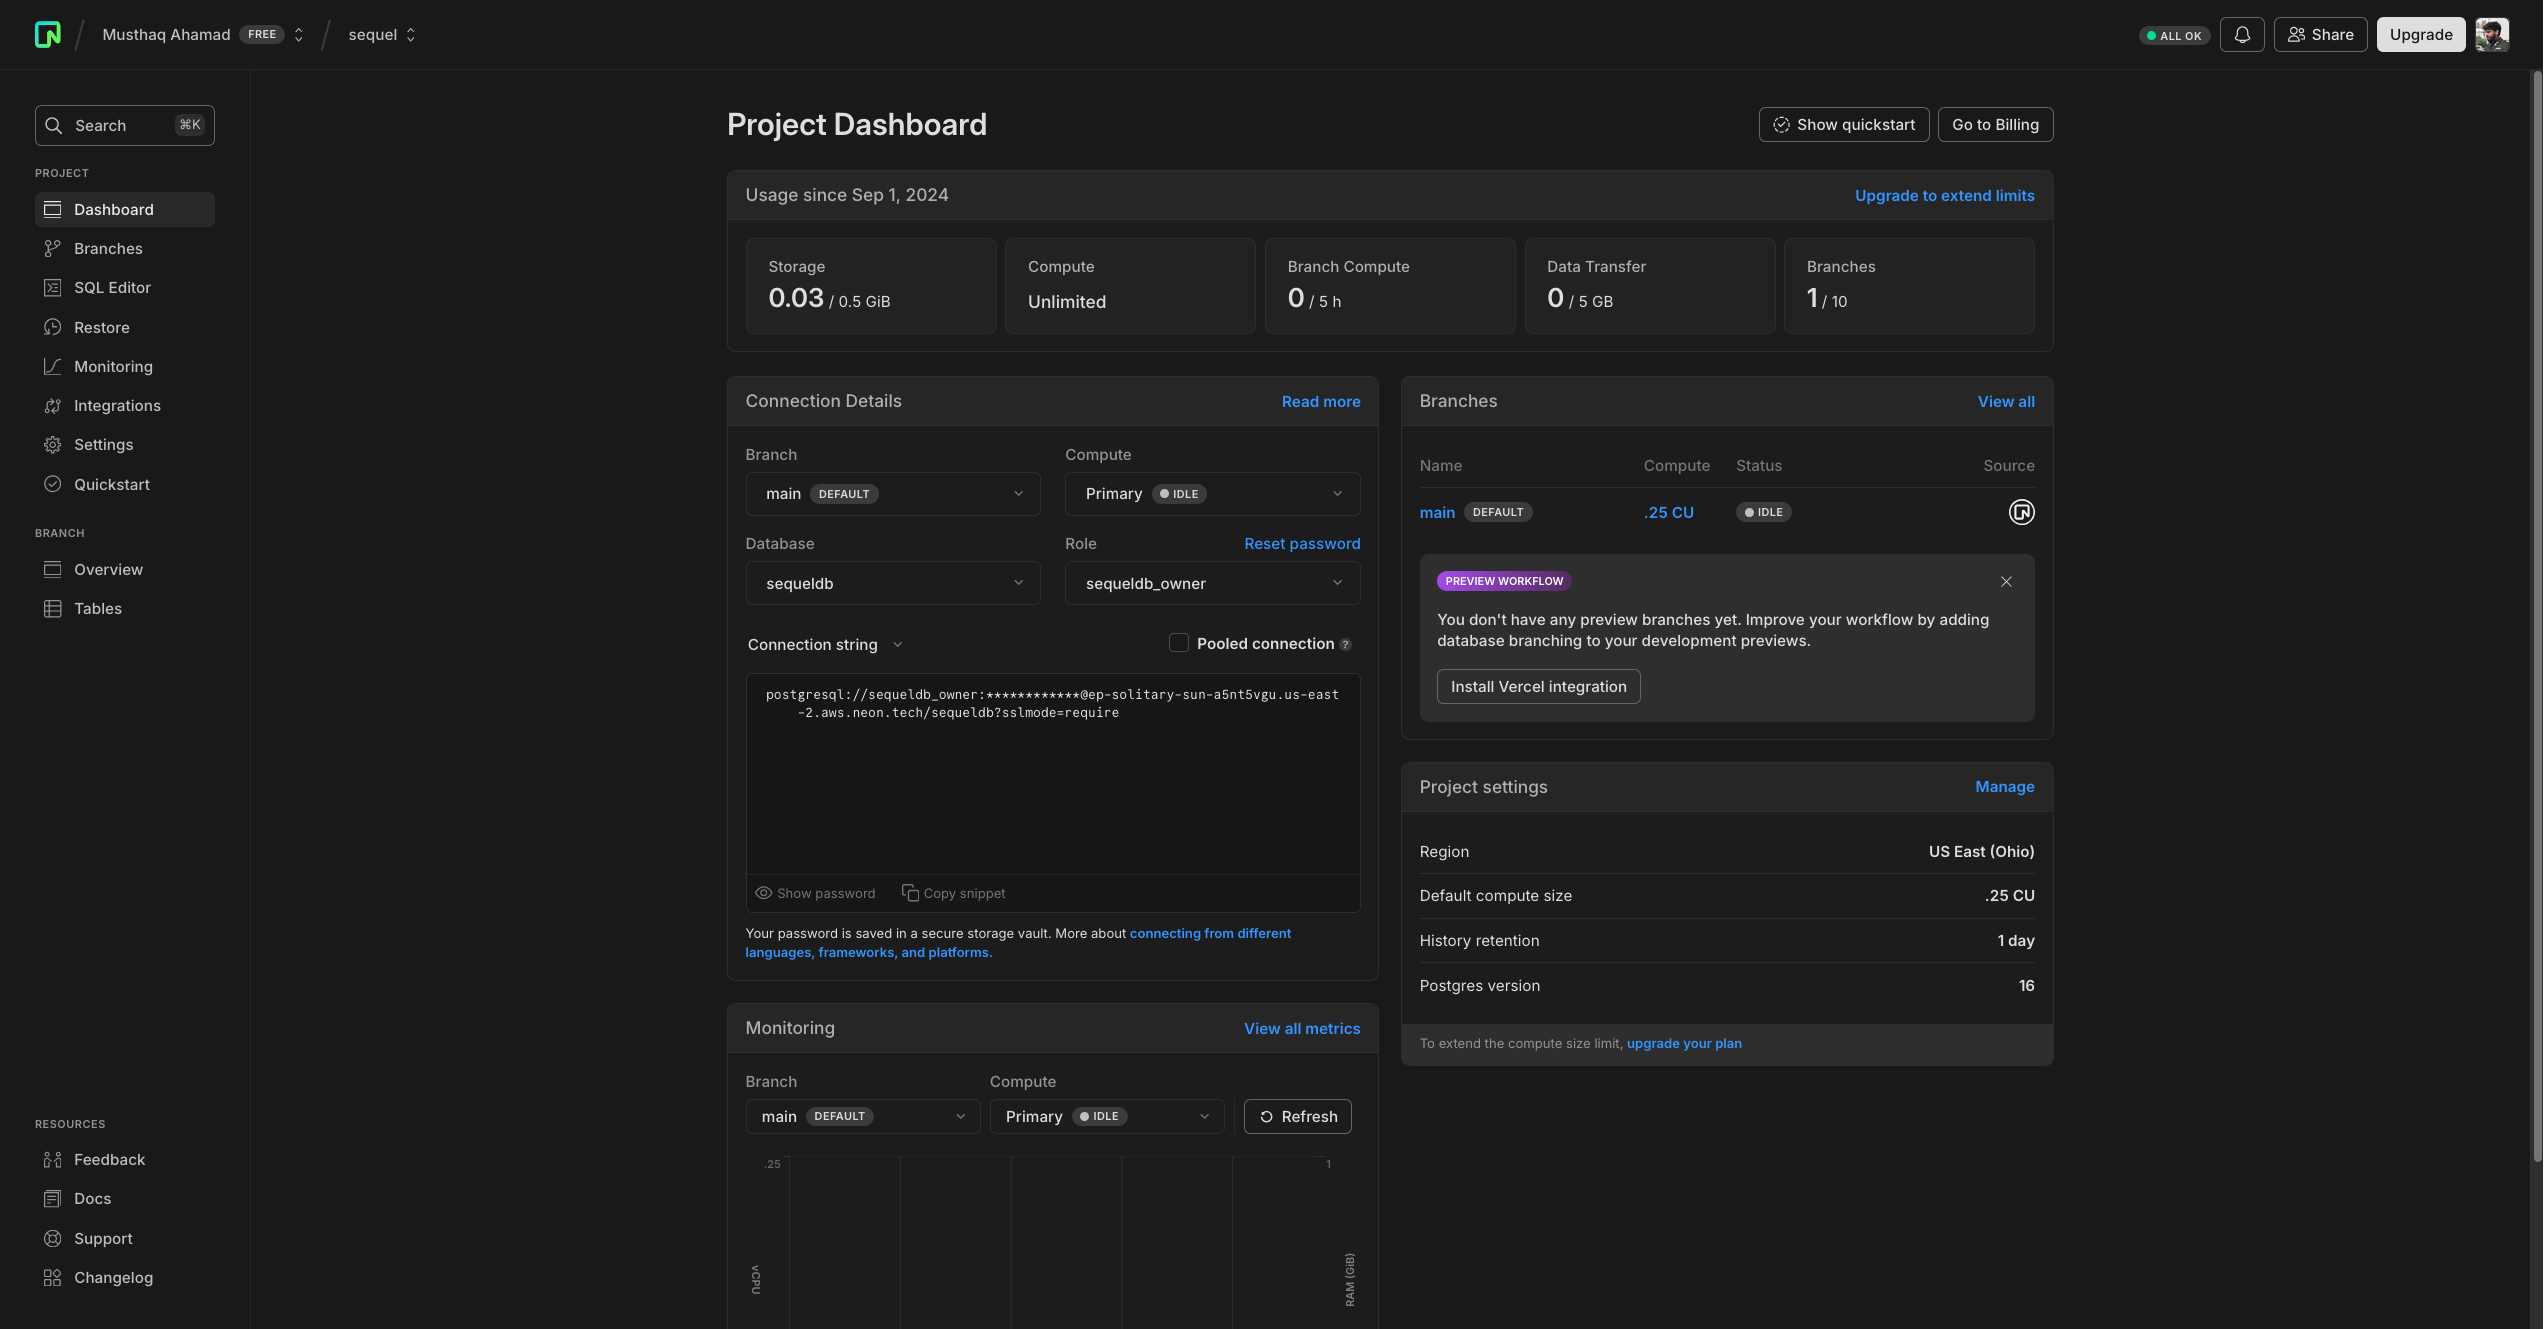
In the database listing, choose the database you want to integrate with Sequel. If there are no databases, you can always create a new database/project.

Step 6: Copy the credentials
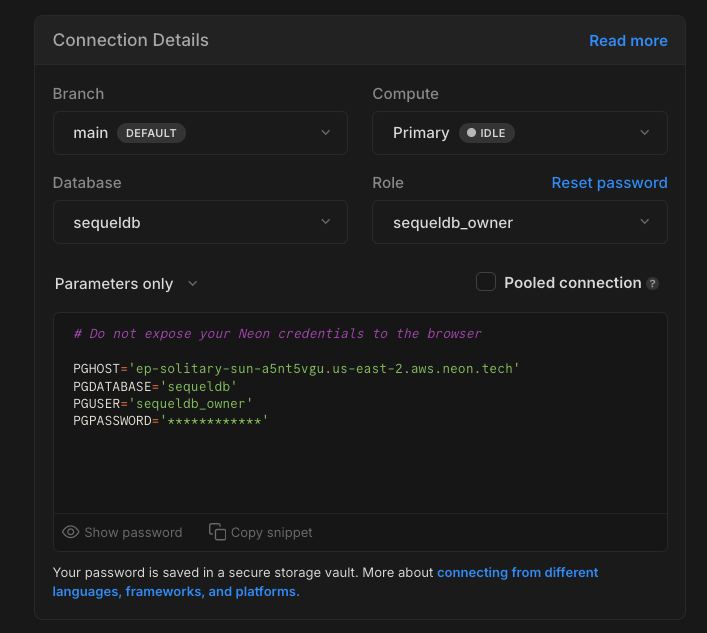
From the Connection Details Section, switch to parameters only display from connection string and copy the details to Sequel's Postgres integration form. You need all the following details
- Host Address
- Port is by default 5432
- Username
- Password
- Database

Step 7: Save connection
Once you have copied the credentials over the integration form, you can click on Test and Save Connection button to complete the integration.
TroubleShooting
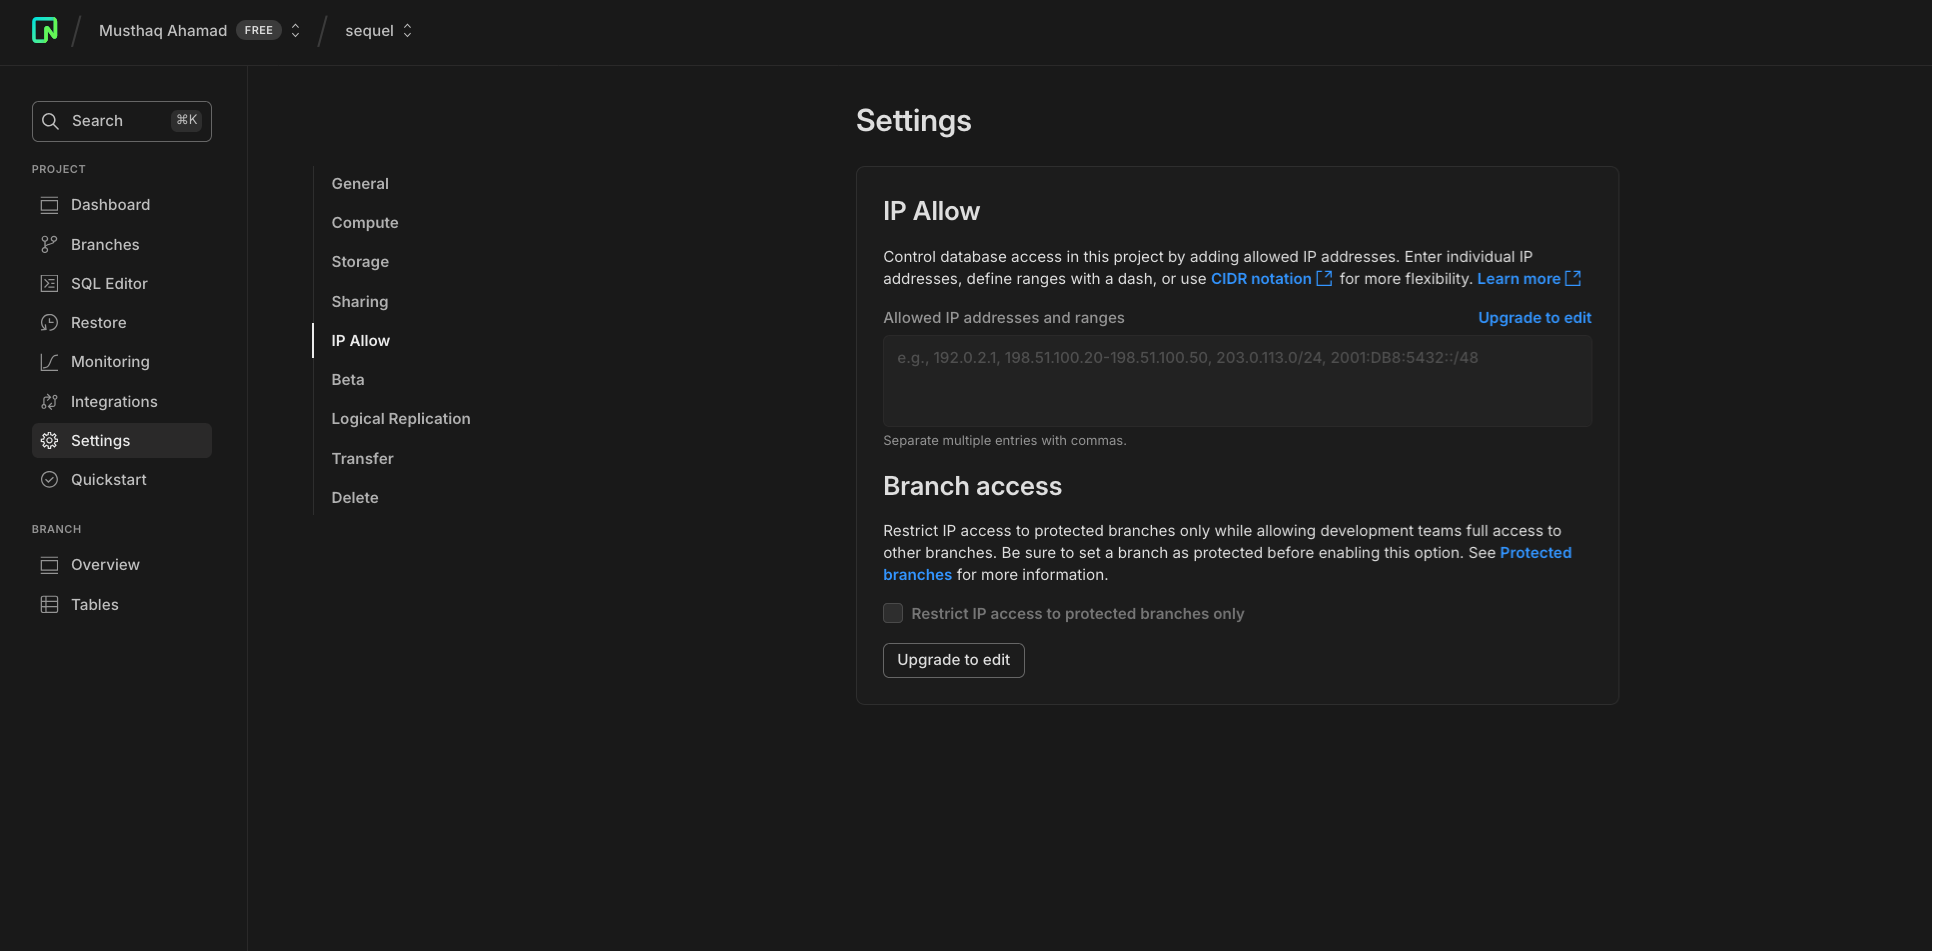
If your connections fails and if the IP Allow is enabled under your databse's settings tab. Add the IPs displayed in the integration form of Postgres into the trusted IPs to allow Sequel to access your database.
